
Get Started with Virtual Machines: A Step-by-Step Guide to Setting up an EC2 Instance on AWS.


A virtual machine is a software implementation of a physical machine, allowing multiple operating systems to run on the same physical hardware. In simple terms, A virtual machine is like a computer that exists within another computer. It's a software program that mimics the functions of a physical computer and can run its own operating system and applications independently of the host machine. This means that you can have multiple virtual machines running on the same physical computer, each with its own operating system and software applications. It's like having several computers in one!
What is EC2?
EC2 which stands for Elastic Compute Cloud is a web service provided by Amazon Web Services (AWS) that allows users to create and manage virtual machines on the cloud. AWS EC2 provides a scalable, reliable, and secure environment for running virtual machines with various operating systems, such as Linux, Windows, and macOS. EC2 instances can be launched and terminated on demand, allowing customers to scale their infrastructure up or down based on their needs.
In this article, I will guide you through the process of setting up an EC2 instance on AWS.
Step 1: Create an AWS Account
The first step to setting up an EC2 instance on AWS is to create an AWS account. To do this, go to the AWS website and click on the "Create a Free Account" button. Follow the prompts to create your account.
Once your account is created, log in to the AWS console. This is where you will manage all of your AWS resources, including EC2 instances.
Step 2: Launch an EC2 Instance
To launch an EC2 instance, follow these steps.
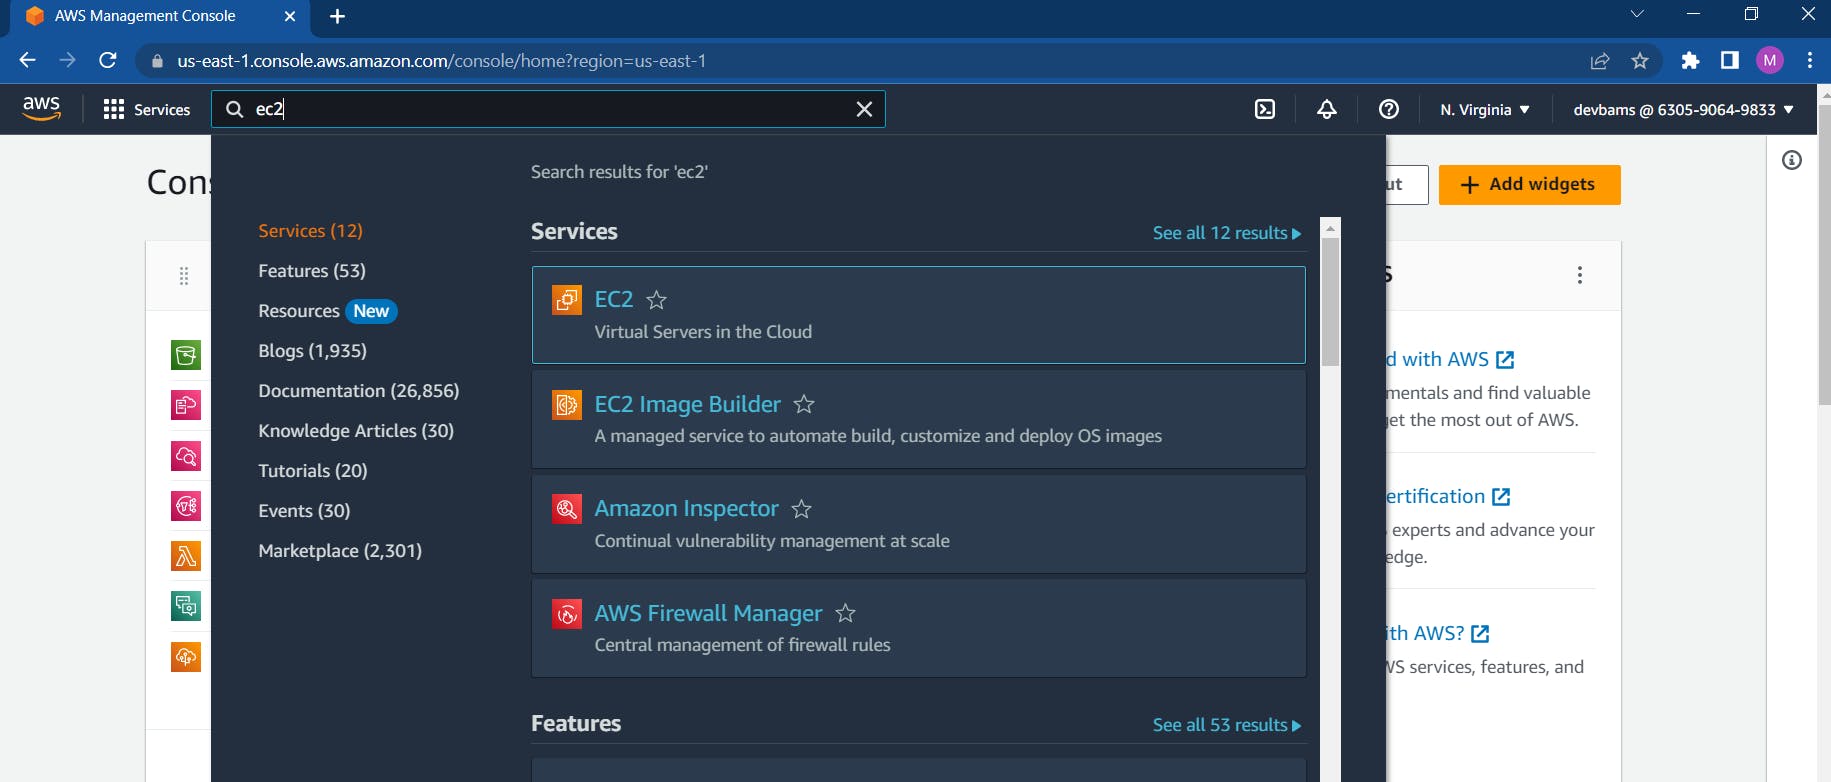
1. Type EC2 in global search box, then select EC2 from the options.
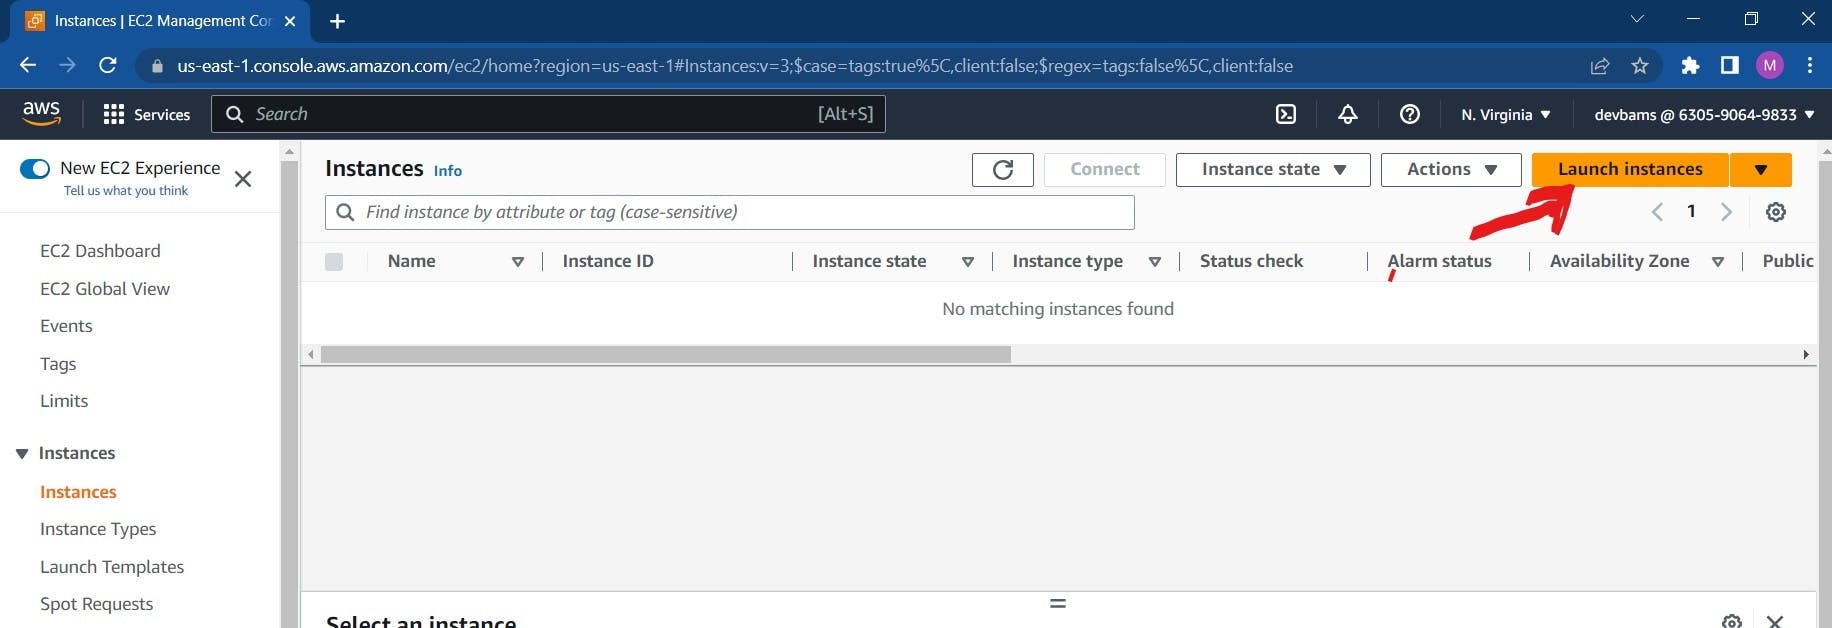
2. On the the EC2 dashboard, click on instances then the "Launch Instance" button.
You will be presented with a variety of options for configuring your instance.
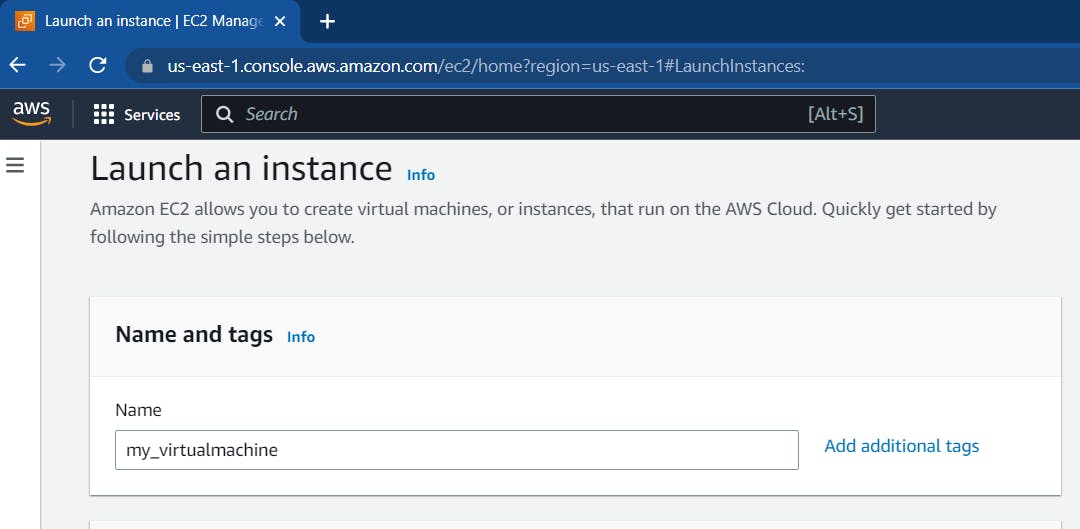
3. Name your Instance and add Tags.
Give your EC2 instance a name. You can also add tags to your instance to help you organize and identify it.
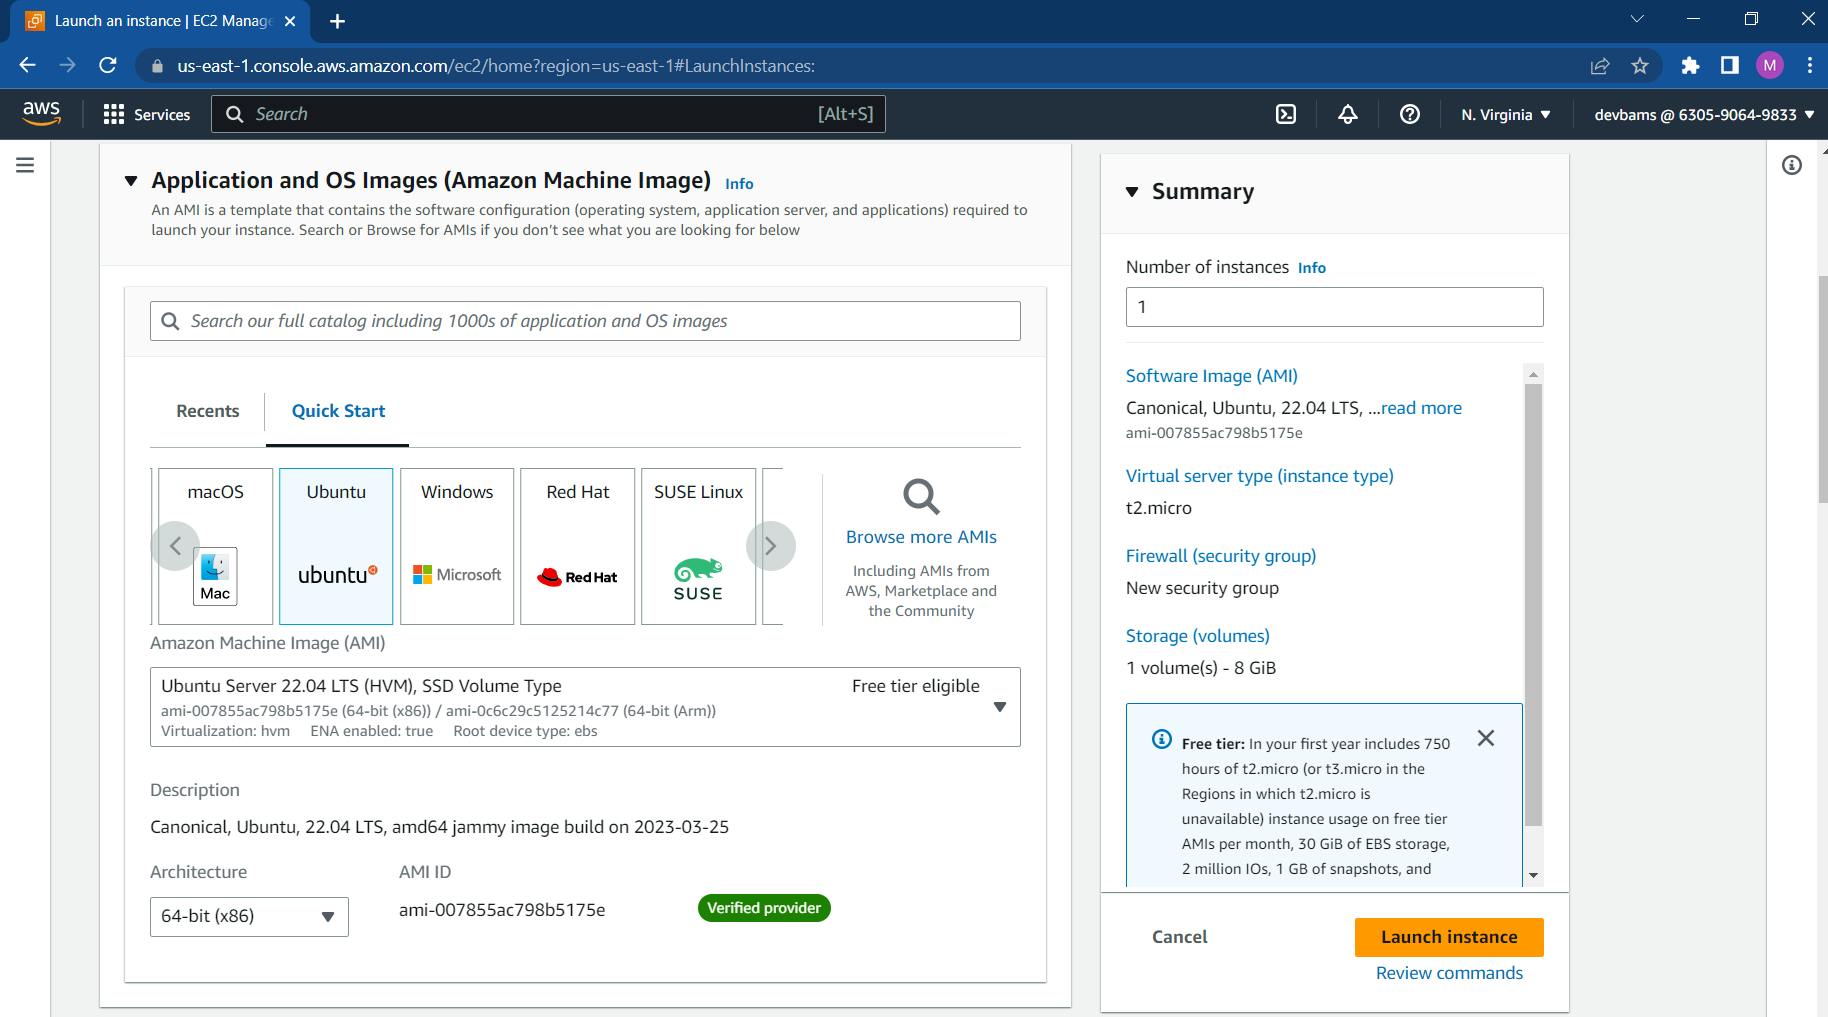
4. Choose an Amazon Machine Image (AMI)
An Amazon Machine Image (AMI) is a pre-configured virtual machine image that includes the operating system, application server, and any other software required to run your application. You can choose from a variety of pre-configured AMIs provided by AWS, or you can create your own custom AMI.
5. Choose an Instance Type
The next step is to choose an instance type. An instance type defines the CPU, memory, storage, and network capacity of your EC2 instance. You can choose from a variety of instance types depending on your specific requirements.
- A t2.micro instance which is selected by default, has 1 vCPU and 1 GiB Memory. The t2.micro instance type is eligible for the free tier. In Regions where t2.micro is unavailable, you can use a t3.micro instance under the free tier.
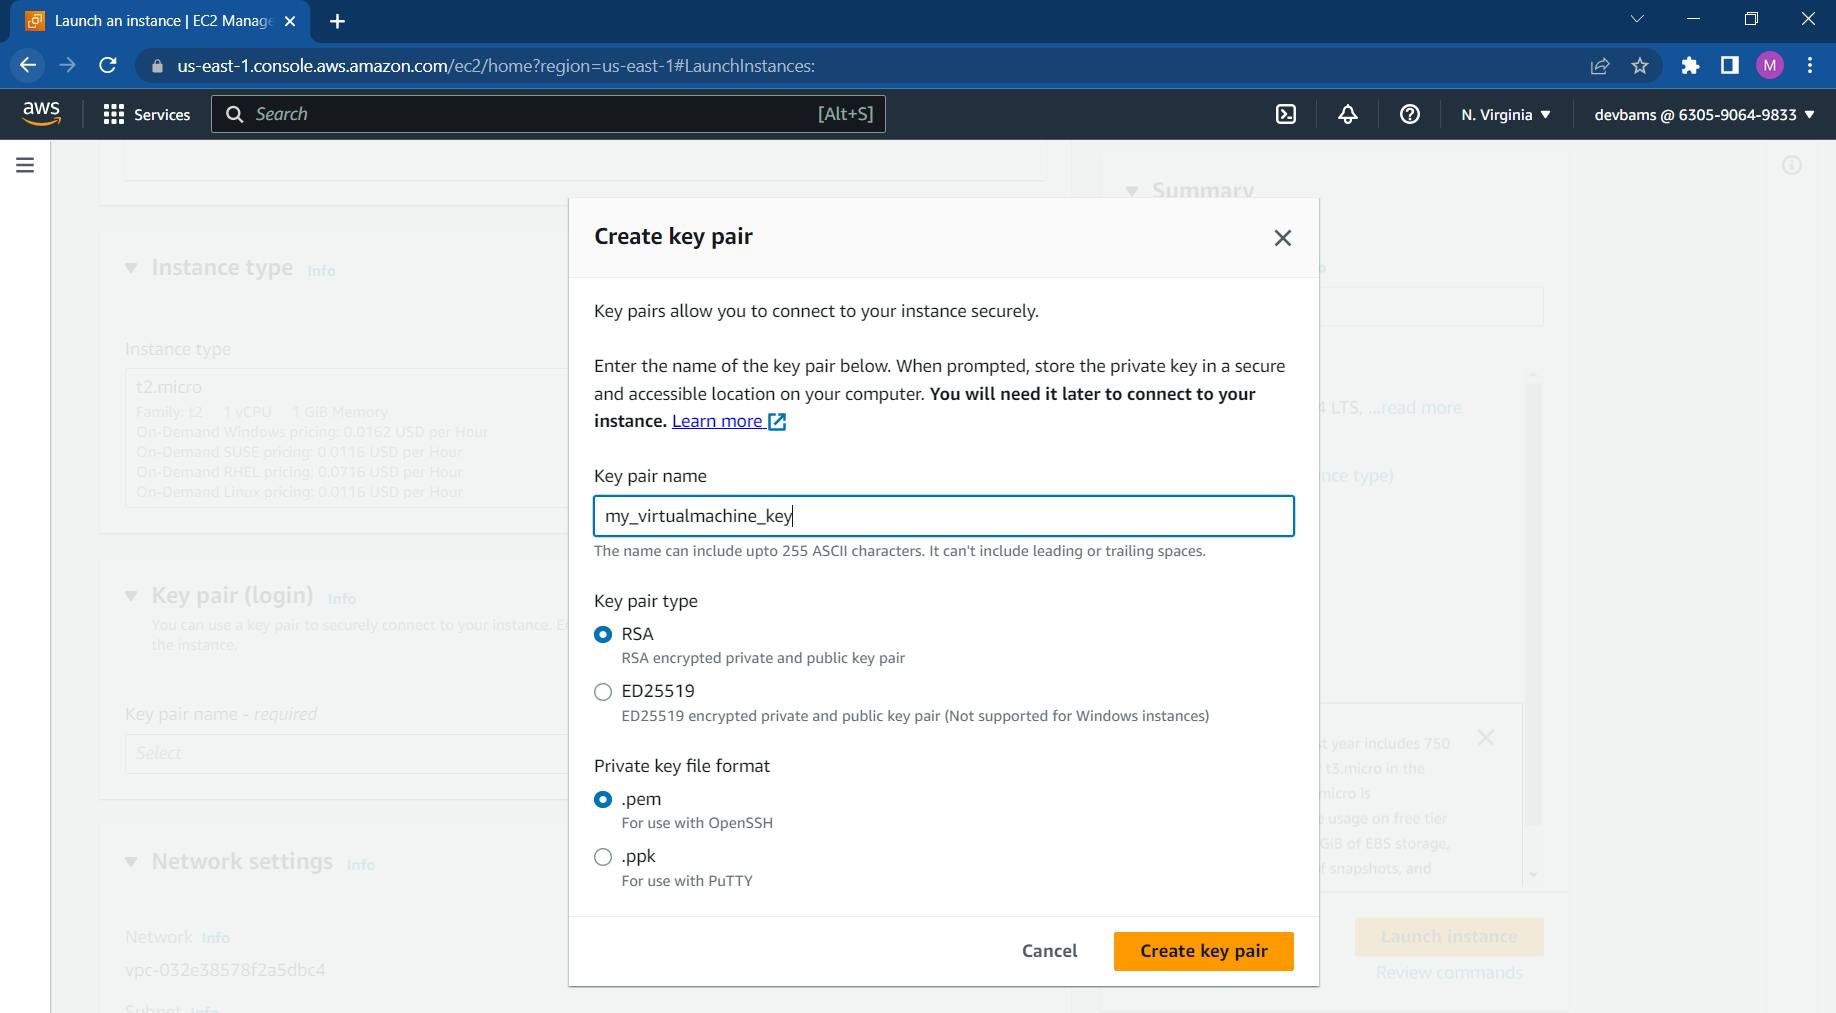
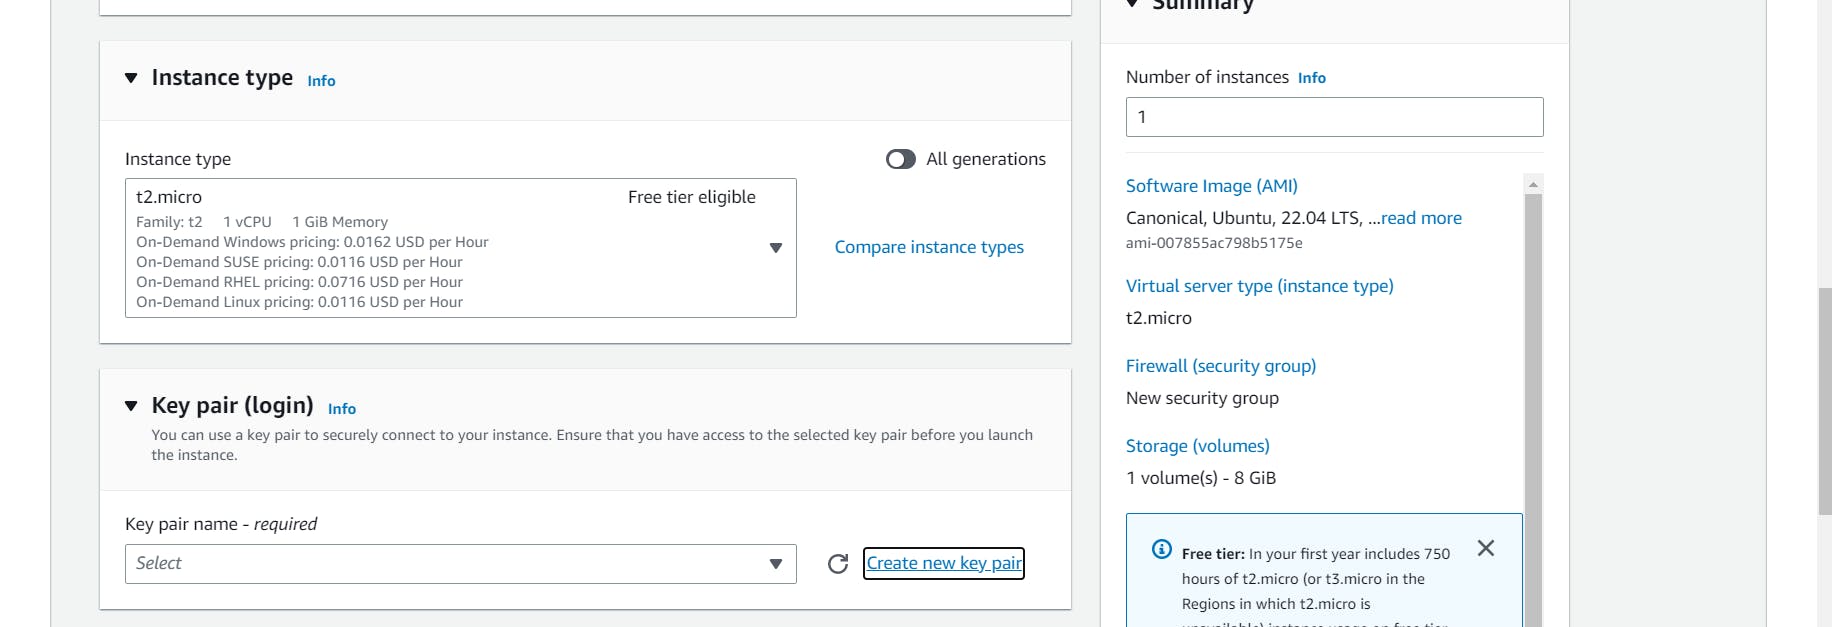 Then choose an existing key-pair, or create a new one
It is not recommended to proceed without a key-pair as it is needed to connect to your instance. If you launch an instance without a key pair, then you can't connect to it.
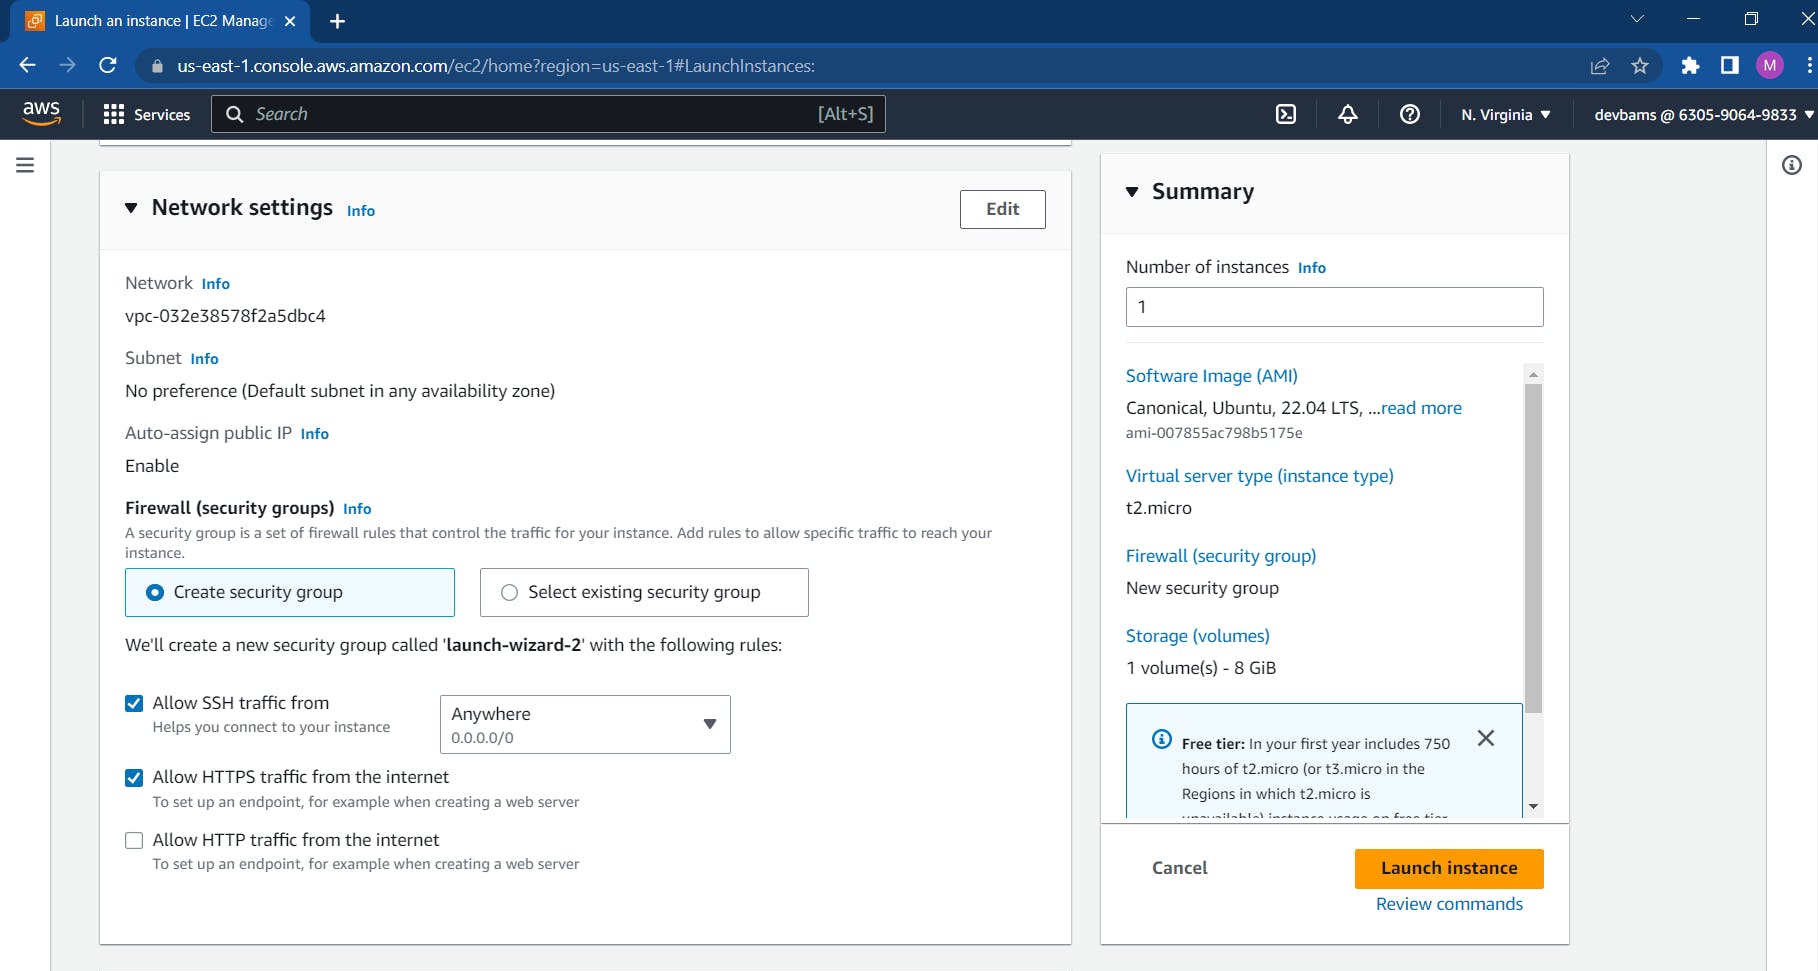
6. Configure Instance Details: (Network Settings, Security Group)
A security group is a set of firewall rules that control the traffic that can access your EC2 instance. You can configure your security group to allow traffic from specific IP addresses or ranges, or to allow traffic from anywhere.
>
- Add SSH(port-22) and HTTP(port-80) rules in Inbound security groups rules to access your instance from putty(ssh) and through web browser(internet) respectively._
- _ Keep the default selections for the other configuration settings.
7. Add Storage.
You can add storage volumes to your instance. AWS offers different types of storage, such as Elastic Block Store (EBS) and Instance Store.
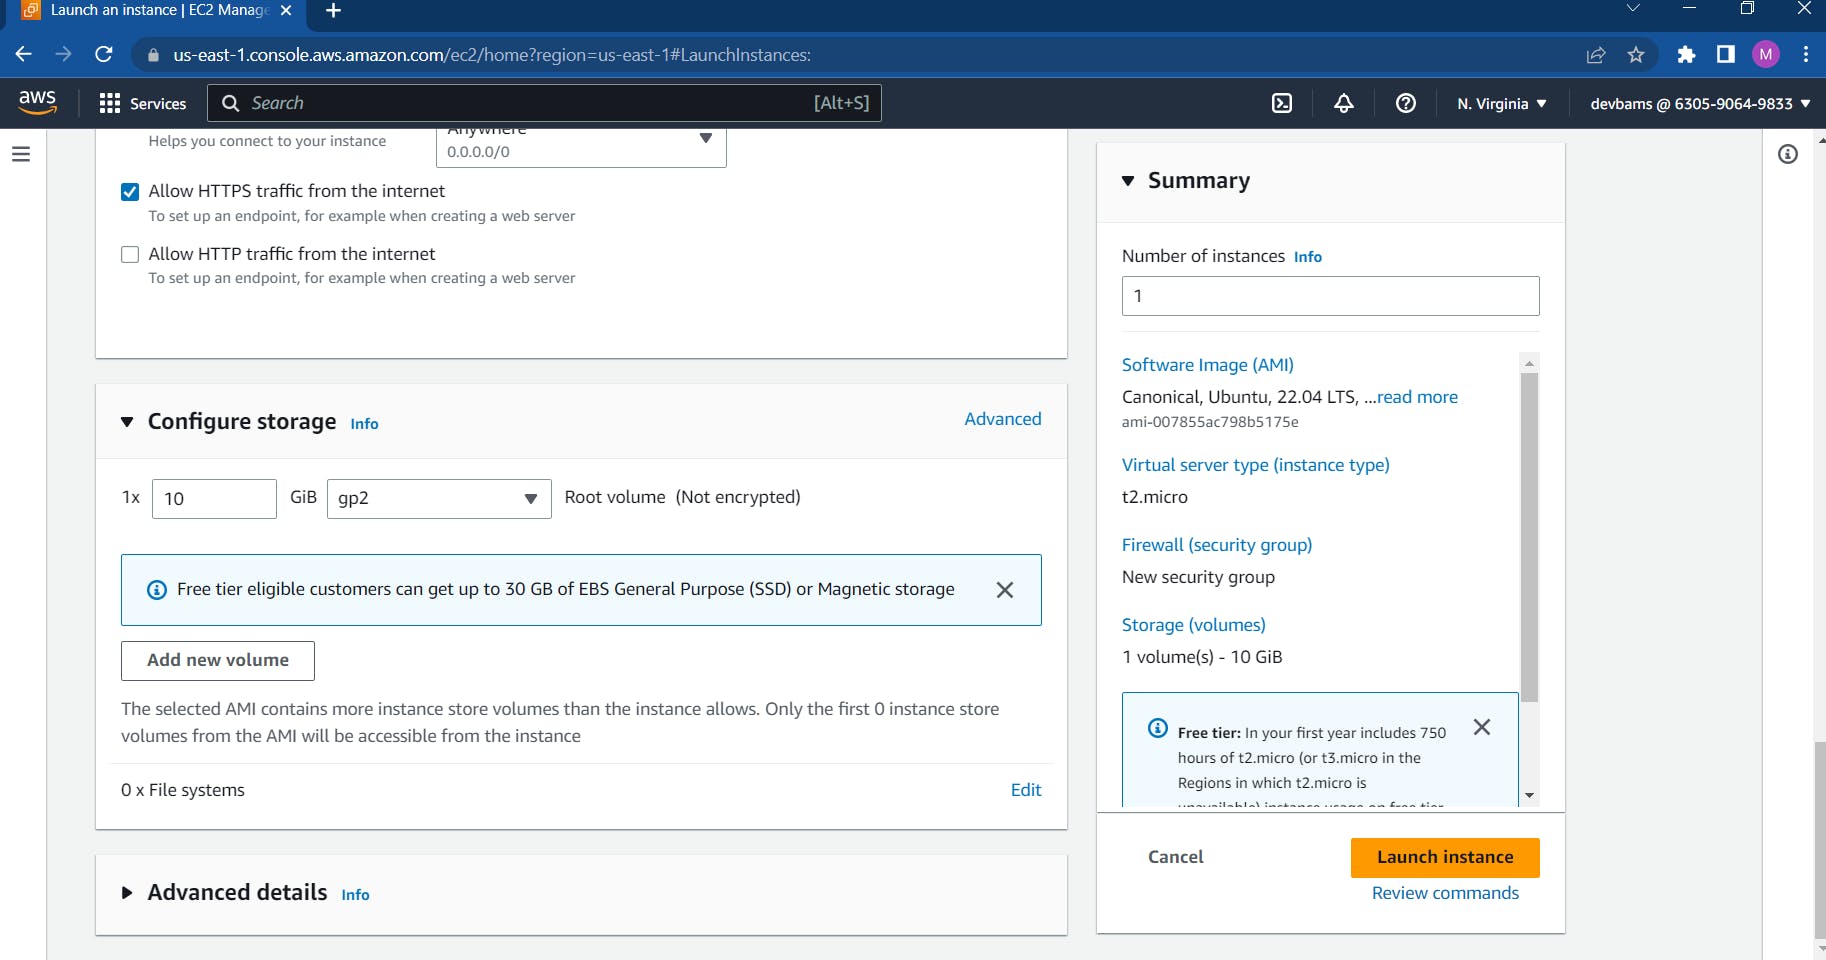
OPTIONAL: Advanced Details In this section, everything can be left as default. You can also configure it. You can pass user data to the instance that can be used to perform automated tasks and even run scripts after the instance starts.
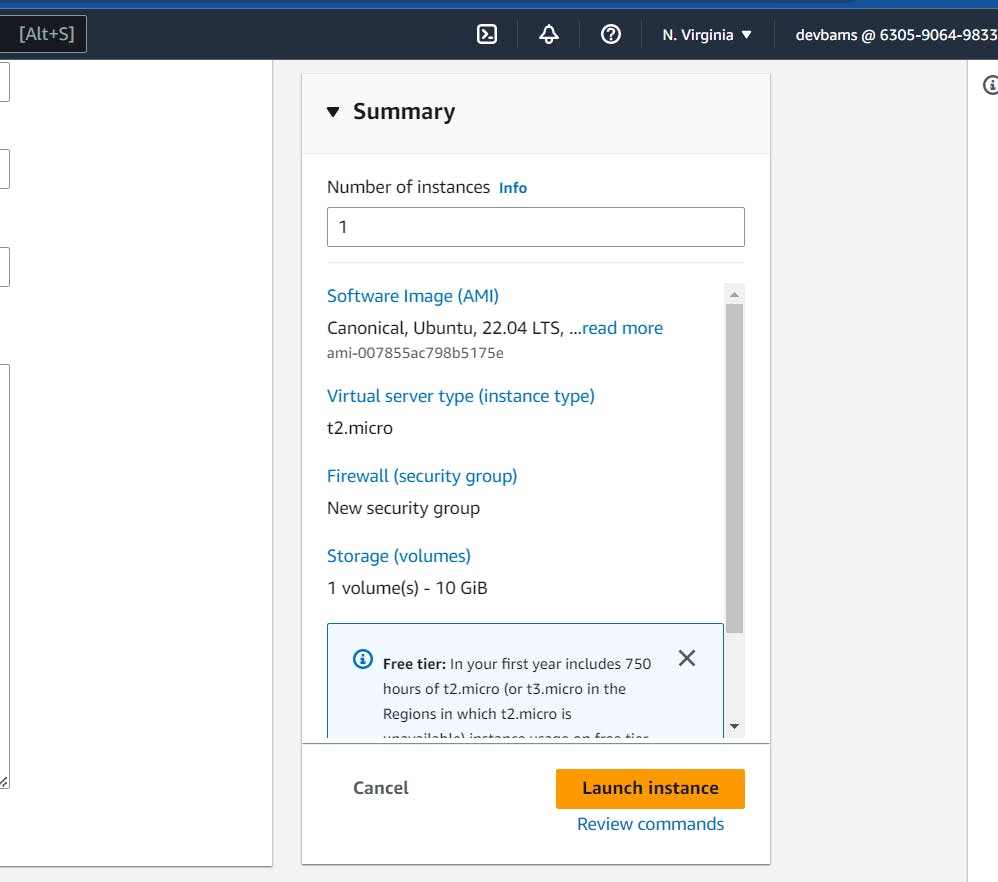
8. Review and Launch Your Instance
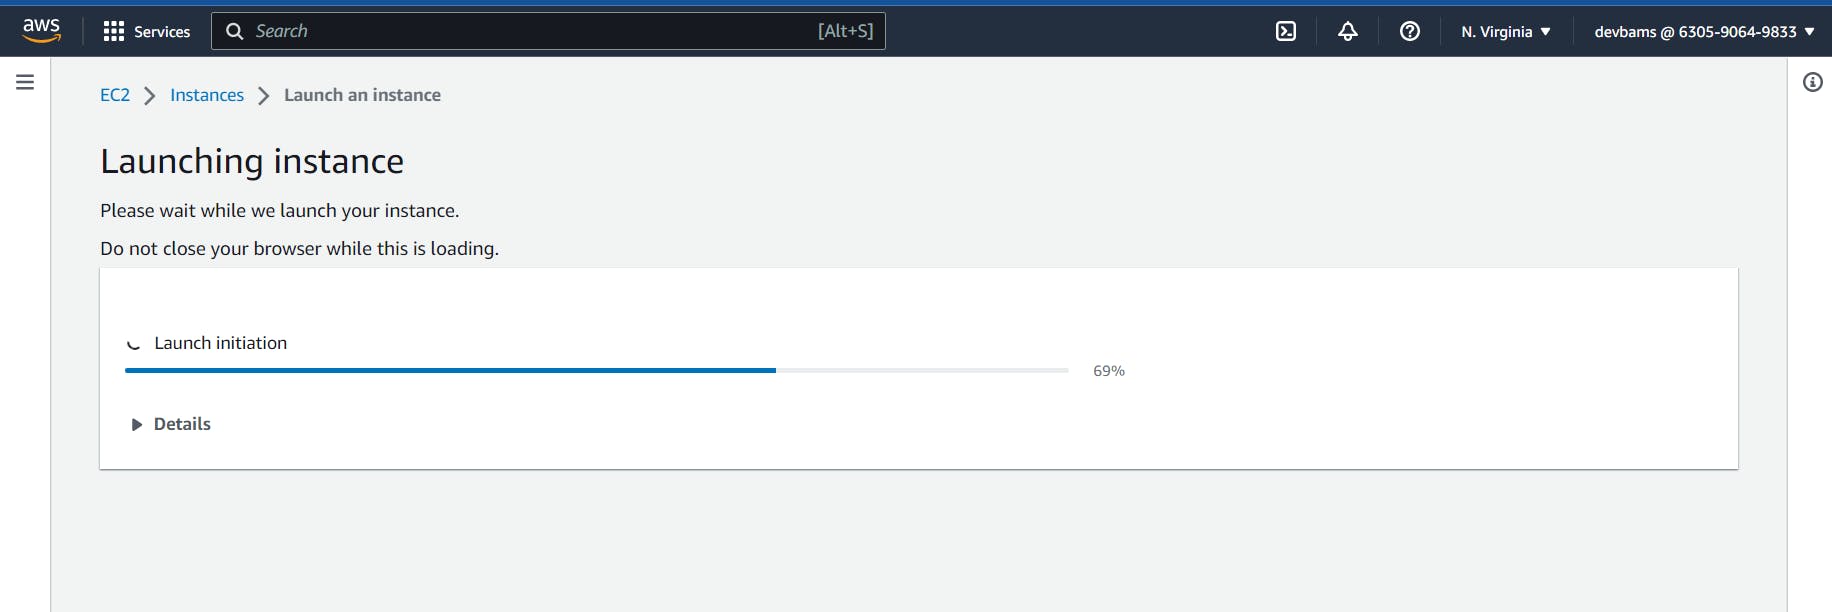
Once you have satisfied with your instance settings, you can launch your instance.

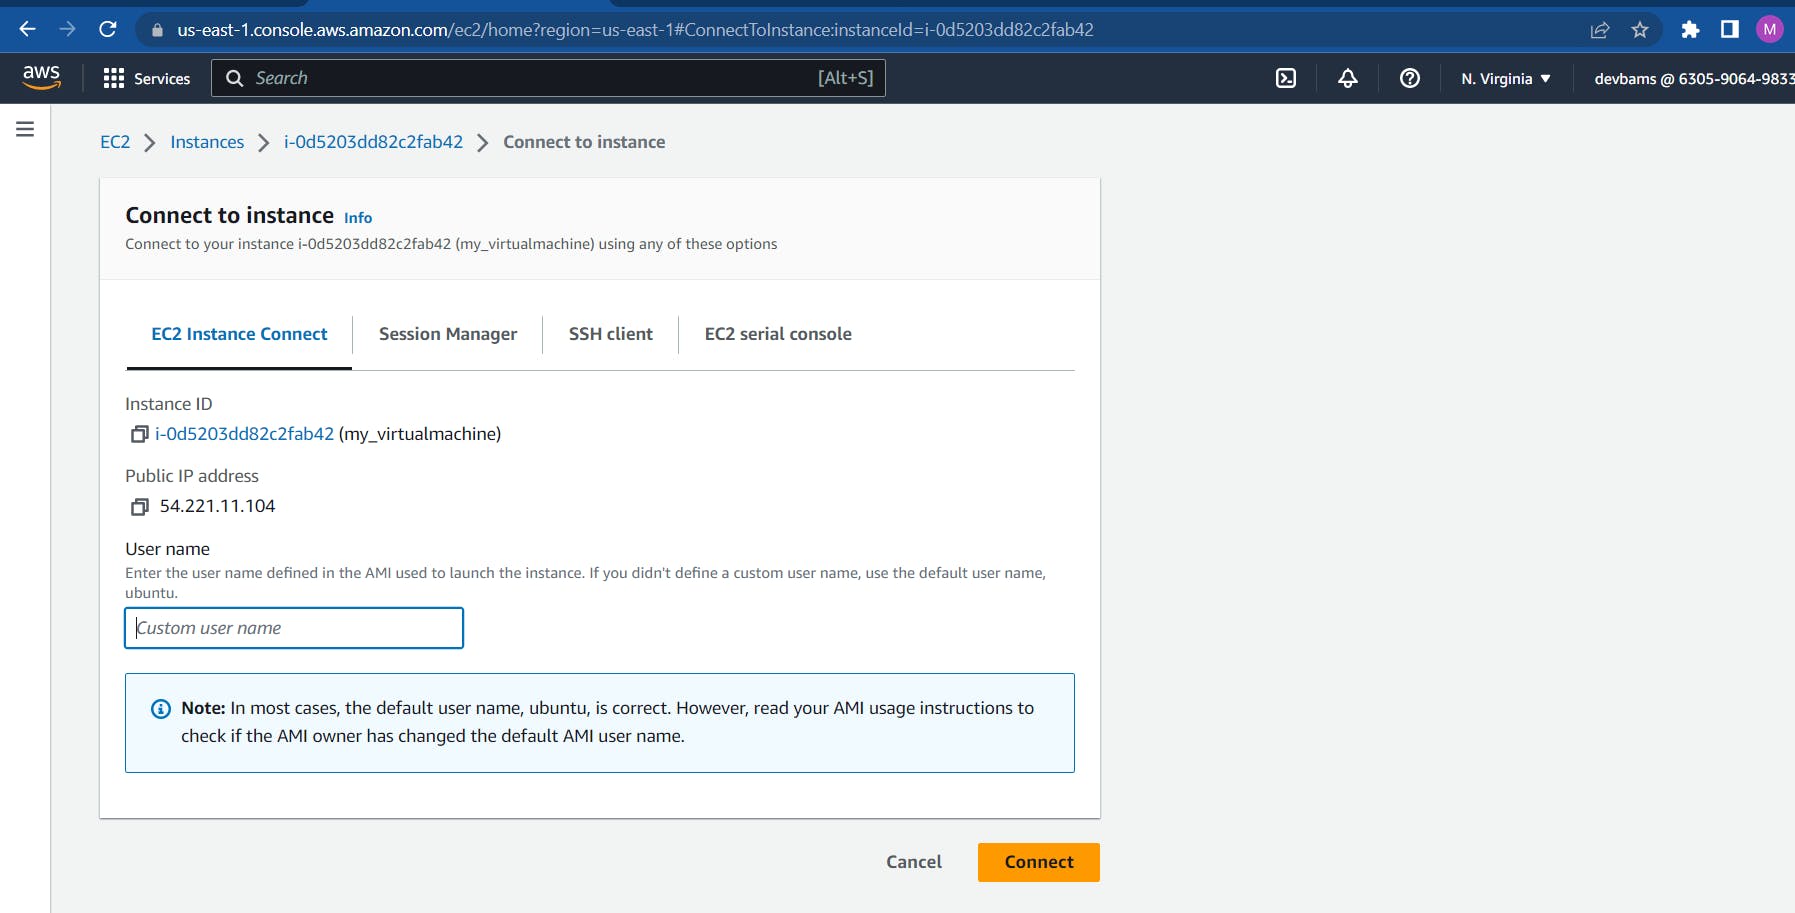
Step 3: Connect to Your Instance There are multiple ways to connect to your instance. After your instance is launched, you can connect to it directly using EC2 instance connect, remote desktop protocol (RDP) client or a secure shell (SSH) client. To do this, you will need to use the key pair that you created earlier. Amazon EC2 Instance Connect provides a simple and secure way to connect to your EC2 instance using a browser-based client. To connect to your instance,
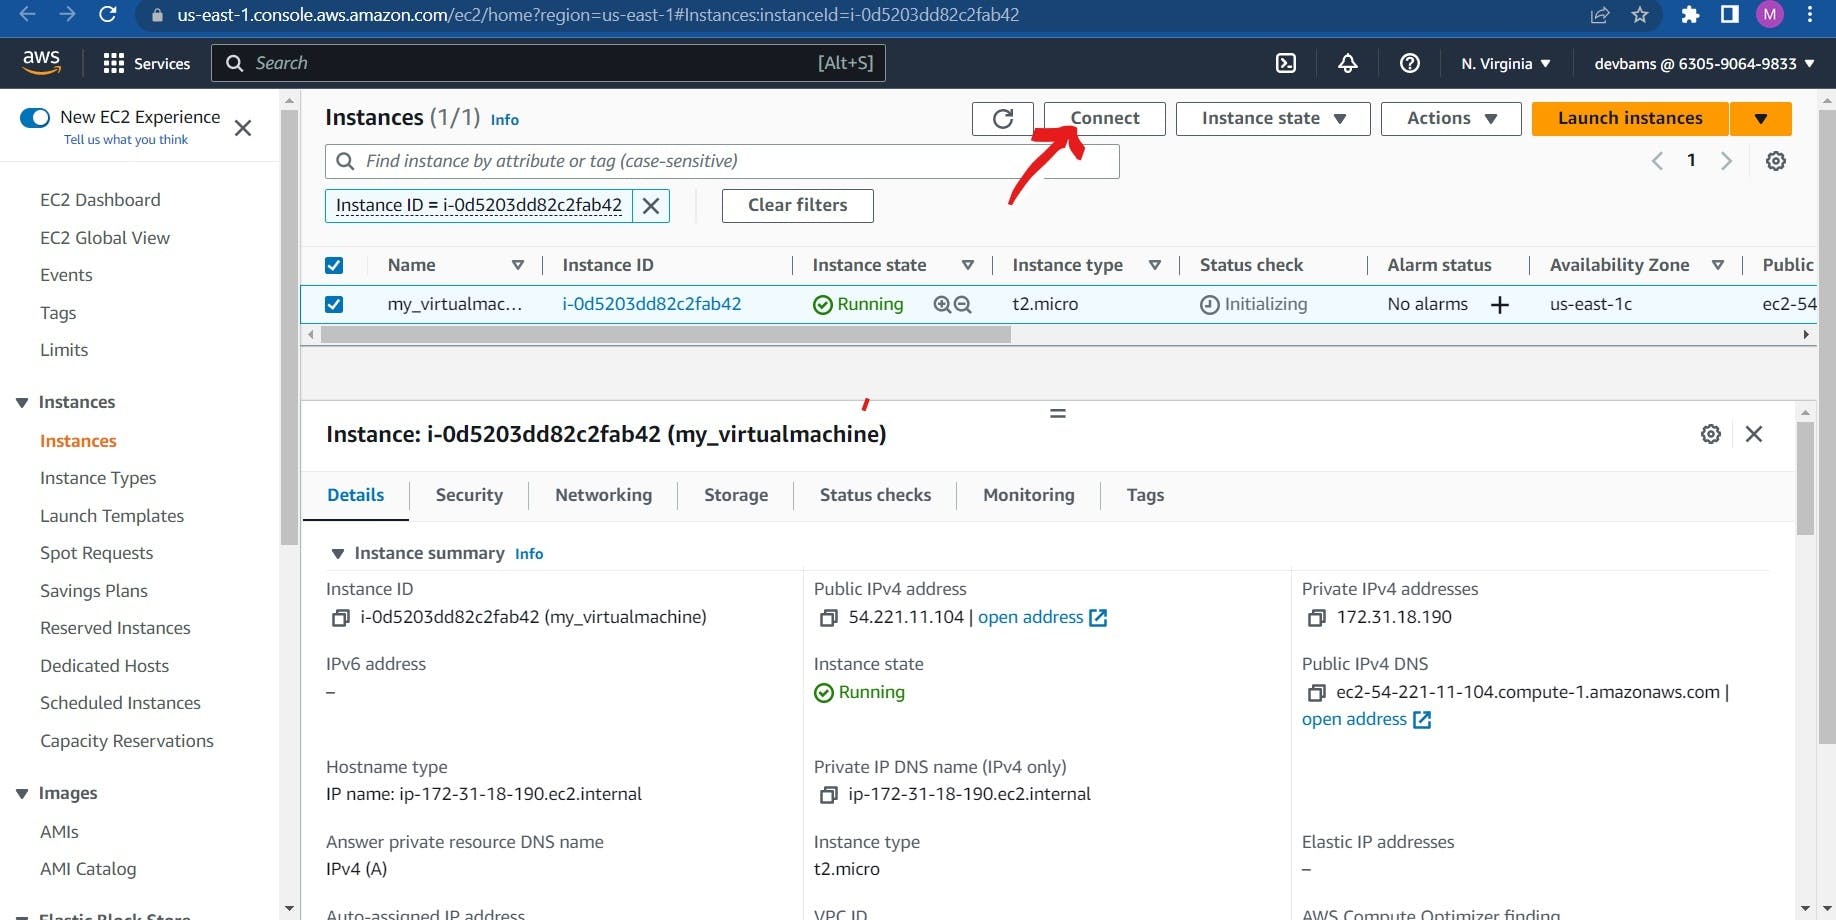
- Go to the EC2 console
- In the navigation pane, click on Instances
- Select your instance and click the "Connect" button.
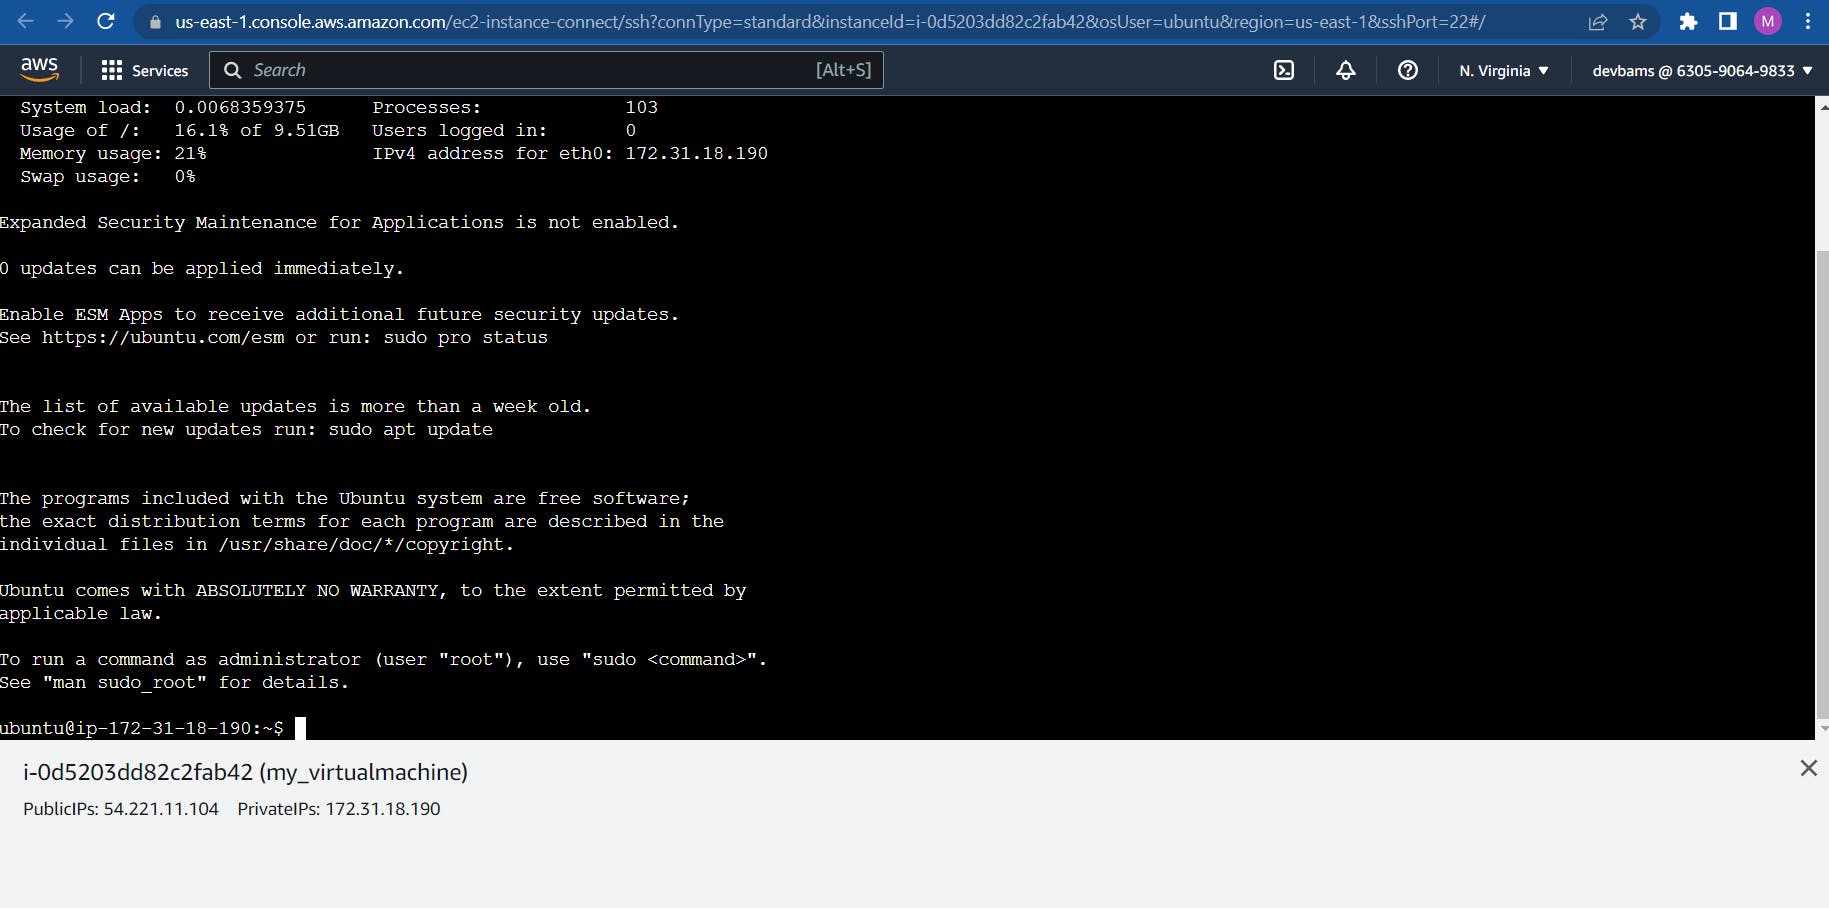
- Enter the custom username (ubuntu in this case) and click on connect.
 And that's it! Your EC2 instance is up and running!
Once you are connected to your EC2 instance, you can install and configure your application. This may include installing any necessary software, configuring your web server, and setting up any databases or other dependencies.
Setting up an EC2 instance on AWS as a beginner can seem daunting at first, but with the right guidance, it can be a straightforward process. By following the steps outlined in this article, you can quickly set up an EC2 instance and start running your applications in the cloud.